Installing vent fans
Vent fans can’t make a van cooler inside than it is outside, but they can take the heat out of the oven that a metal box becomes in the sun. And in the winter, they help pull humidity out of the van before it can condense and cause rust. The folks at Far Out Ride are pretty big on roof vents and floor vents for both those reasons. Here’s how we installed ours.
Steps
Wash and protect your roof
Start by washing your van’s roof. You don’t want to scratch or grind dirt into your roof’s factory finish as you’re working.
Lay down blankets, then put a 4x4 foot piece of plywood or similar down to distribute your weight across the roof and prevent any dents.
Sharp-eyed viewers might notice a dent in my roof in the video. That’s because I tried checking one vent while working on another and didn’t move the plywood.
Measure, mark and prep your space
Most roof adapters will only fit in one place on the roof, but be sure to measure and confirm there are no obstructions on the underside of the roof. In our case, we had to remove a light mounted to one of the metal joists.
We taped an upside-down tent to catch all the metal dust and cuttings, and we replaced the tent a couple times through the process to make sure nothing got through.
Drill and cut
This isn’t hard to do, but making a hole in the van can be stressful. If you’re not confident of your measurements, go back and check.
The cutting is done when the parts can be test fit cleanly, then use something to take down the sharp edges. I used a sander, but others use files or grinders.
Clean and prime
Prepping the hole takes a good cleaning to remove all the dust and contaminants on the surface. Acetone is compatible with the 3M 5200 marine sealant. Do not use alcohol or mineral spirits, they will damage the glue. Do not use water-based cleaners.
Priming the cut edges of the metal with paint is critical to prevent rust. I also like to prime any areas of the paint I scuffed while cutting, and it’s as important to get the inside of the roof around the cut as the top.
Let dry for a few hours.
Clean again, glue, and screw
Once the primer is dry, apply the 3M 5200 sealant/glue to the trim ring and place it on the roof. The glue is very difficult to remove, so careful placement is critical.
With the adapter in place on the roof, you’ll have 15-30 minutes of working time to complete the following tasks. Alternatively, you can clamp the adapter in place and let 3M 5200 sealant cure for 48 hours before continuing.
Apply butyl tape to the top of the adapter, then place the vent mount. Use the holes in the vent mount as a guide to pre-drill through the adapter and van roof using a small bit, then drive stainless steel screws through the entire assembly (vent mount, butyl tape, adapter, 3M 5200, van roof) to secure in place. Be that your screws are long enough to go through the van, and be sure to keep everything in place as you work.
Let cure for 24-48 hours.
Seal everything
This isn’t complicated. Embrace the gooeyness, apply lap seal liberally as seen in the video.
Be careful about drips and anything that gets on your clothing. Eagle-eyed viewers will notice a splotch on my roof that I didn’t spot until after it cured. Next time I’ll tape drop cloths on the roof.
Let the lap seal cure for 24 hours.
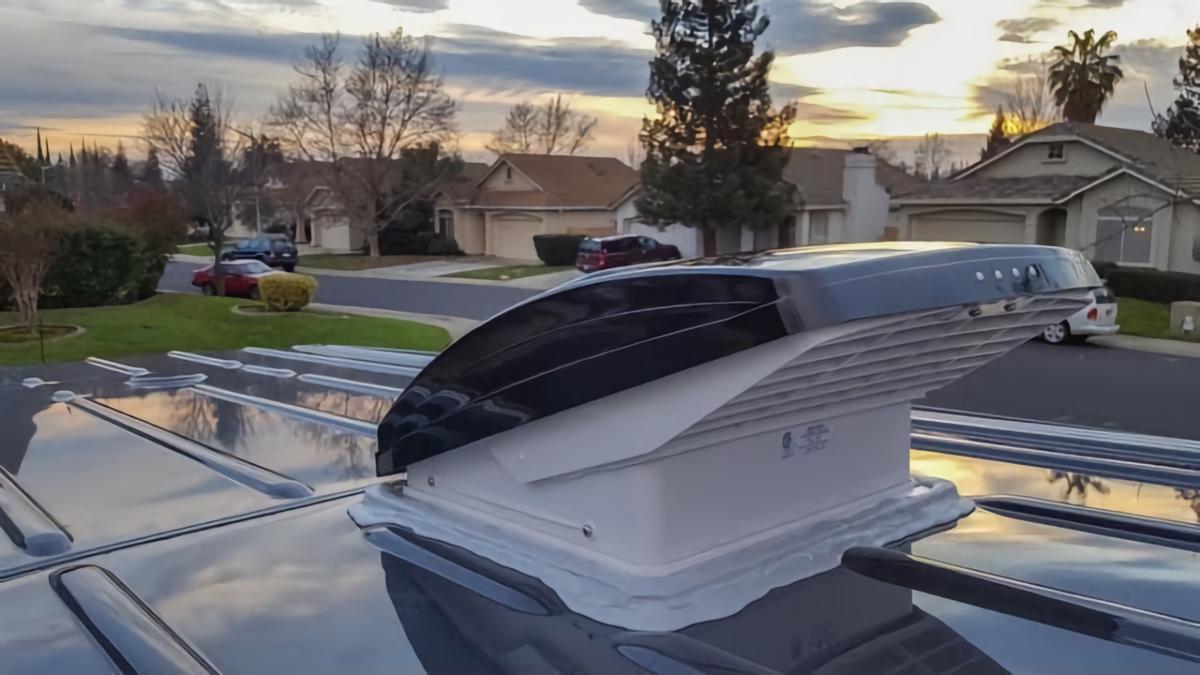
Mount fan
Just as it says in the manufacturer’s instructions.
Materials list
Parts
Consumables
- Stainless steel screws long enough to go through the vent mount, adapter, and into the roof at the location you’re placing your fan (I found the vent at the front could be installed with the screws provided by the vent manufacturer, but the vent at the back required screws 1/4 inch longer)
- 3M 5200 fast-cure marine sealant
- Butyl tape
- Lap seal
- Primer
- Daubers
- Acetone
- Masking tape
- Drop cloths
- Sharpie or other marker
- Paper towels
- Beers
Tools
- Cutting tool of your choice
- Drill, drill bits, and step bit
- Metal file, grinder, or belt sander to remove the rough edges
- Screwdriver, impact driver, or other way to drive screws
- Vacuum cleaner
Research sources
A good resource
Sprinter Van USA instructions.
Belt and suspenders approach
https://www.youtube.com/watch?v=2c8YNxf1BuI
A bit of banter
Jump to about 13:45 in that video.
https://youtu.be/qb2jR0wnZMs?t=829
Removing butyl tape
https://www.youtube.com/watch?v=zl7edYJaCLE
Historical example
https://www.youtube.com/watch?v=zco4sR5UK-E
There are a lot of things I don’t understand about this one.
The Parked-in-Paradise example
https://www.youtube.com/watch?v=vl1T3RLNz7o
The blog post includes a lot of photos and description.